


- Loft Style Living: 15 Ideas for Open, High Spaces
 Loft Style Living: 15 Ideas for Open, High SpacesDiscover how to masterfully structure expansive rooms and high ceilings. With precise zoning, strong material contrasts, and sculptural design stateme...
 - Japandi Living Room: 15 Ideas for Wood & Light-Filled Spaces
 Japandi Living Room: 15 Ideas for Wood & Light-Filled SpacesDiscover the secret to visual serenity: The Japandi style merges Scandinavian coziness with Japanese minimalism. We show you how to create a truly tra...
 - Multifunctional Design Furniture: Make Small Rooms Feel Big
 Multifunctional Design Furniture: Make Small Rooms Feel BigFurnishing small spaces cleverly demands smart solutions. Discover 5 key steps to make versatile furniture expand your home. From rotating beds to pul...
 - Ceramic Dining Table Tops: The Hidden Edge Over Wood & Glass
 Ceramic Dining Table Tops: The Hidden Edge Over Wood & GlassWater rings, scratches, and constant caution? Discover how high-tech ceramic is revolutionizing the dining table. This guide reveals why low-maintenan...
 - Lowboard, Sideboard, or Highboard: The Difference
 Lowboard, Sideboard, or Highboard: The DifferenceLowboard, Sideboard, or Highboard? Learn the exact differences and discover which furniture proportions visually enlarge your space. A compact guide f...


Create Your Own Moss Wall - DIY Guide
⏳ Reading time: approx. 3 minutes
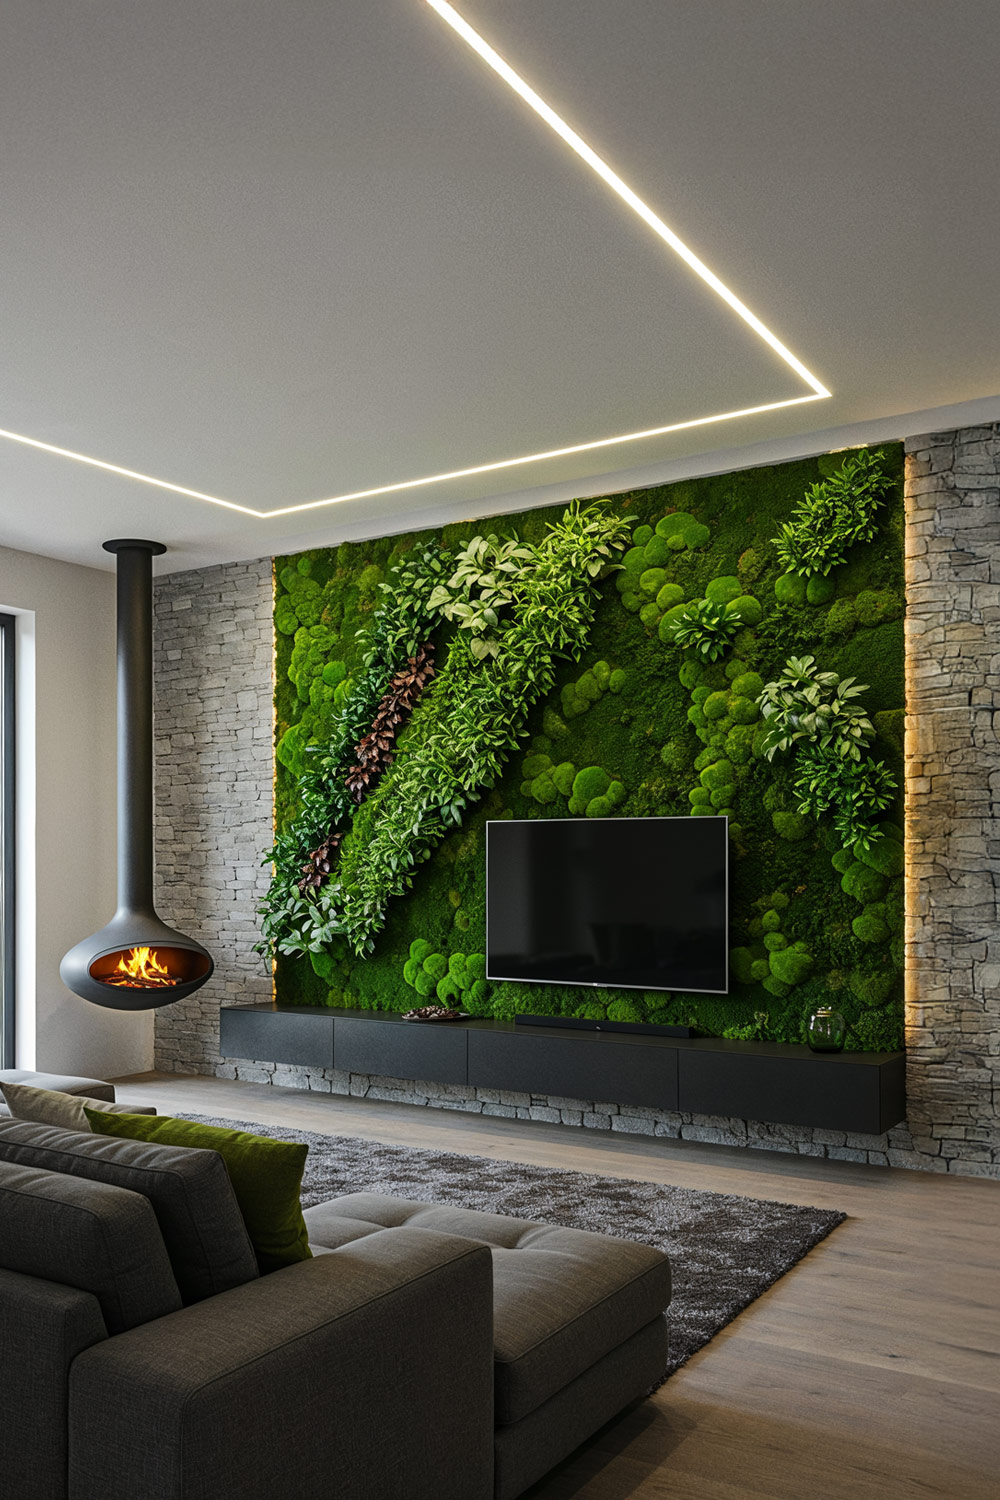
Bring a touch of nature into your home with a DIY moss wall. Whether in the living room, bedroom, or study, this green wall design adds a captivating accent and fosters a cosy atmosphere. What's more, a moss wall is sound-absorbing, offering practical benefits too.
In this post, we explain how easily and quickly you can create a moss wall yourself. You don't need any special crafting skills for this. The financial and time investment are also absolutely manageable. Furthermore, the moss wall is low-maintenance if you approach the project correctly and follow our tips.
Basic Tips for Your DIY Moss Wall
Before we begin with the instructions, we'd like to give you some fundamental tips for building your moss wall. In fact, selecting the materials and planning exactly how the wall should look are the most crucial steps. The actual implementation is the easiest part.
Tip 1: Use Preserved Moss
In principle, you have the choice between untreated and preserved moss. We advise you to use only high-quality moss preserved by immersion – for two reasons:
- Preserved moss is durable and requires no maintenance. It is not alive, so it doesn't need watering, fertilising, or trimming. And it doesn't fade, but remains permanently in the condition in which it is delivered.
- Preserved moss is lighter than fresh moss. The differences are sometimes considerable. Due to its lower weight, you enjoy more flexibility in choosing the substrate for your moss wall.
Of course, you can also use fresh moss for a truly living moss picture, but you should be aware that untreated moss requires maintenance – meaning regular watering, fertilising, and trimming – both indoors and outdoors.
Very important: Be sure to buy your moss from a trustworthy supplier to ensure you receive quality goods.
Tip 2: Adapt the Substrate to the Room
Flat panels made from various materials are suitable as a substrate for the moss. Here are some examples:
- Plywood
- MDF
- OSB
- Cork
- Styrodur
Additional tip: If necessary, reinforce the panel with aluminium U-profiles or frame it to prevent deformation from the outset. This is particularly recommended for plywood.
Which panel material makes the most sense primarily depends on where you want to install the moss wall. Bathrooms or kitchens have high humidity, which is why waterproof Styrodur is a good choice there. Wood would be unsuitable in these rooms due to the risk of mould, whereas it can be used without problems in the study, bedroom, or living room.
Tip 3: Prefer Special Moss Adhesive
To attach the moss to the substrate, you need a suitable adhesive. Wood glue and wallpaper paste are also options, but we recommend preferring special moss adhesive optimised for creating moss pictures and walls.
Moss adhesive is usually purely plant-based, making it pollutant-free and odourless. Furthermore, it generally adheres to a wide variety of surfaces, whether wood, cork, or Styrodur. And it is compatible with all moss types.
Note: Superglue is not suitable!
Tip 4: Combine Different Moss Types
You can opt for a specific moss type and create a uniform moss wall; however, designing with various moss types is significantly more aesthetic and atmospheric:
- Rock moss: rather flat
- Forest moss: rather flat
- Ball moss: spherical/semi-circular
- Reindeer moss: cushion-shaped (actually not a moss, but a lichen)
Extra tip: To add even more flair to your DIY moss wall and/or fill smaller gaps, you can add moss ferns, ornamental grasses, and amaranth. These plants should also be preserved so that they permanently retain their beautiful appearance.
Tip 5: Create a Sketch of the Moss Wall in Advance
It's best to consider in advance how your moss wall should look and create a scale drawing. This way, you can consciously define the aesthetic and prepare the mosses specifically, potentially saving you tedious deliberation when attaching the green plants.
However: Of course, you also have the option to proceed spontaneously and apply the mosses as you feel inspired. However, this can also lead to stress during the gluing process and dissatisfaction with the final result.
So much for the most important tips. Below, we show you step by step how to create your own moss wall.
Create Your Own Moss Wall - Here's How, Step by Step
You can create your moss wall in four simple steps:
- Clean moss and prepare supplementary plants
- Attach moss
- Integrate ornamental plants
- Allow to dry and hang
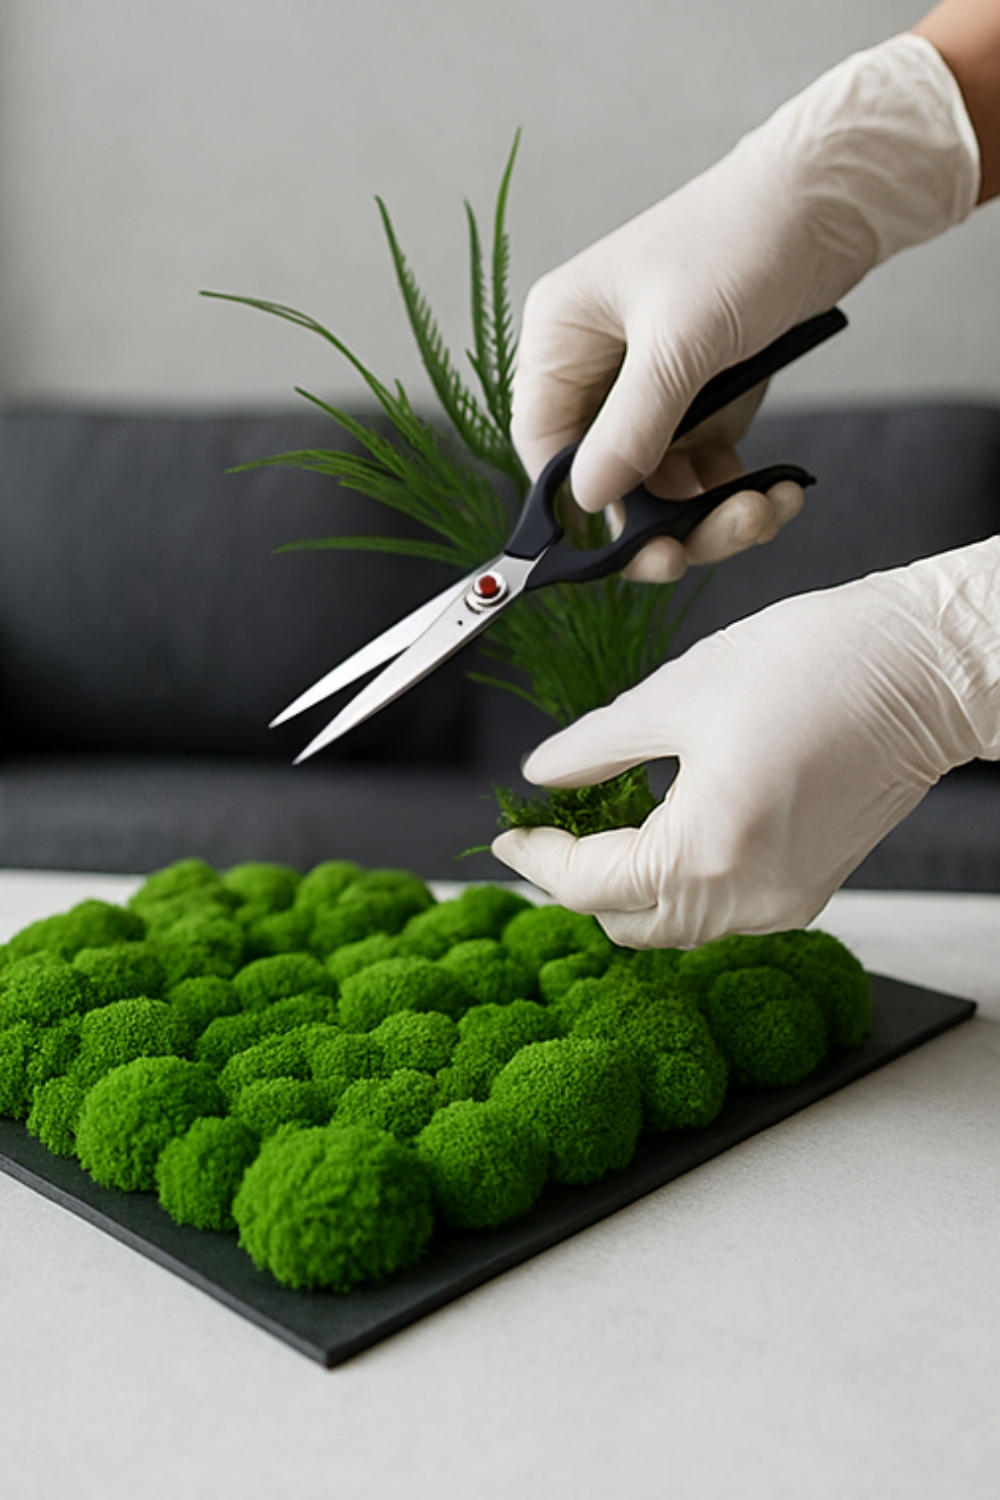
1. Clean Moss and Prepare Supplementary Plants

Whether preserved or untreated: moss can contain 'foreign bodies' such as small pine needles or cones. Therefore, you should clean it in the first step. Pull out the unwanted elements or gently tap the moss.
You can easily tear or cut the moss apart. This won't harm the plants. Wear gloves, as preserved moss can easily stain.
Note: Due to preservation, moss may have some darker spots. If you don't like these, it's best to remove them beforehand.
Prepare the mosses and supplementary plants you want to use for your moss wall according to your sketch. Essentially, this means tearing or cutting the desired elements to size.
2. Attach Moss
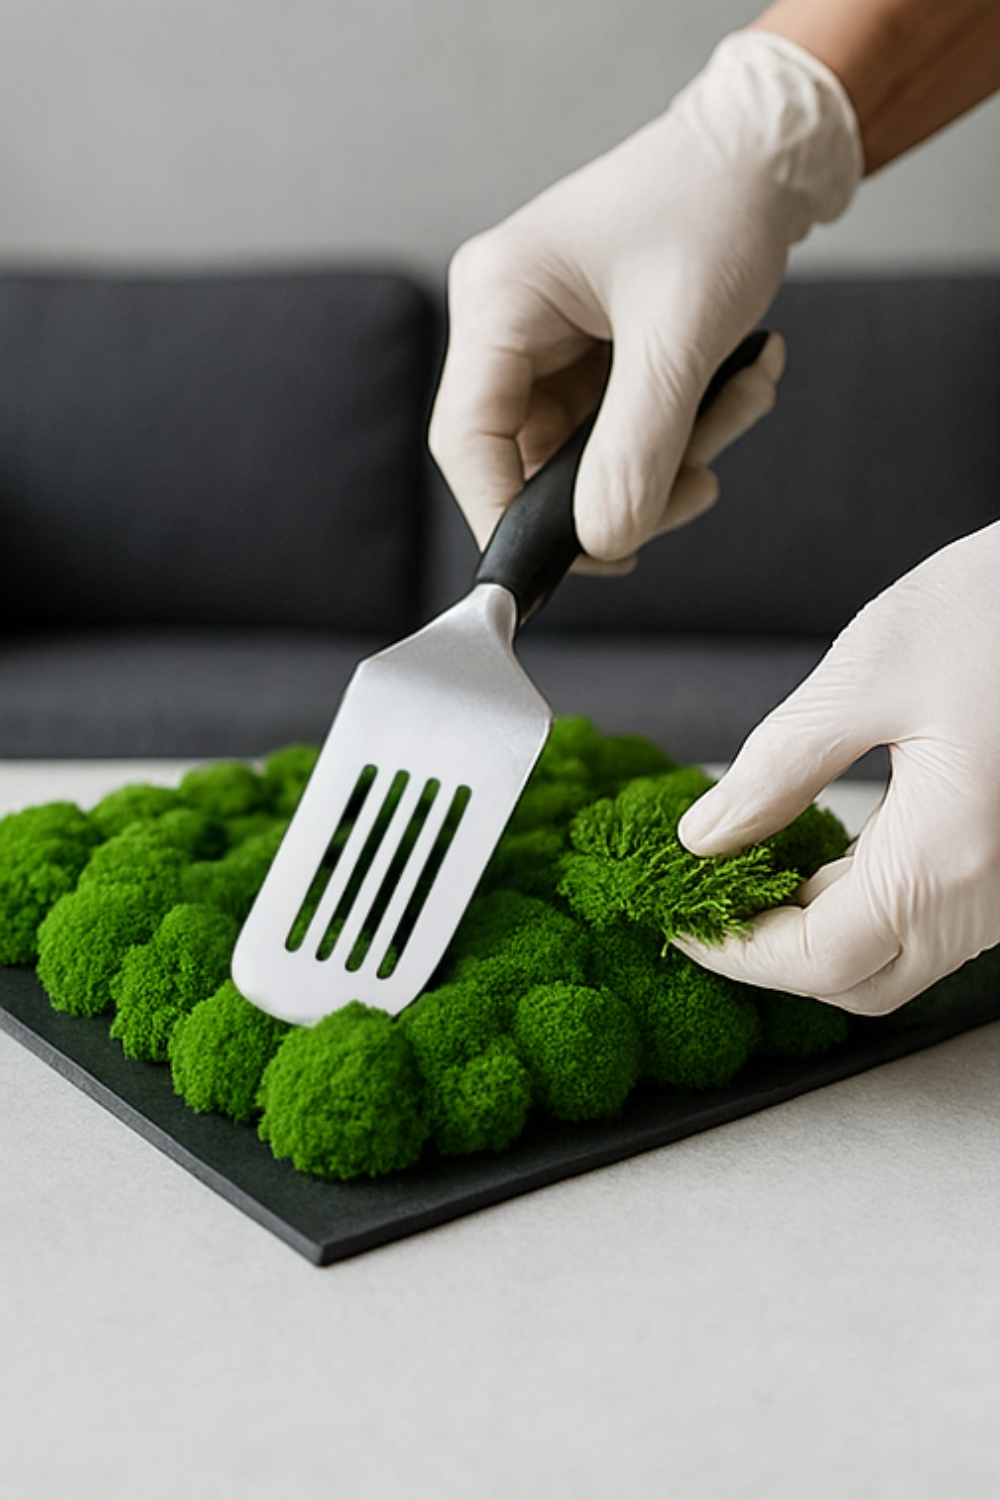
Apply adhesive to the substrate board and spread it evenly using a notched trowel. Then gradually press the moss onto it.
Since the adhesive dries quite quickly, you should work swiftly or only apply adhesive to small areas at a time and proceed step by step.
Also important: Push the individual moss pieces closely together to achieve as seamless a look as possible.
But don't worry: if gaps still appear, you can creatively fill them later.
3. Integrate Ornamental Plants
Now integrate the ornamental plants into your moss picture. Moss ferns are very suitable as gap fillers, while ornamental grasses and amaranth are ideal for embellishment.
Apply a small amount of adhesive where you want to attach the ornamental plants – ideally using a glue gun to better and more precisely control the amount.
Tip: To hide the adhesive, you should only glue the plants at their stem ends and cleverly slide these under or between flat moss elements. This also ensures that the branches hang freely and look particularly natural.
4. Allow to Dry and Hang
Once you have attached all the mosses and ornamental plants, let your moss picture rest for 24 hours. During this time, the adhesive will dry completely.
To align your moss picture straight on the wall, use a spirit level, a tape measure, and a pencil. Securely screw the natural artwork to the wall with a drill, screws, and rawlplugs. Your green wall design is complete!
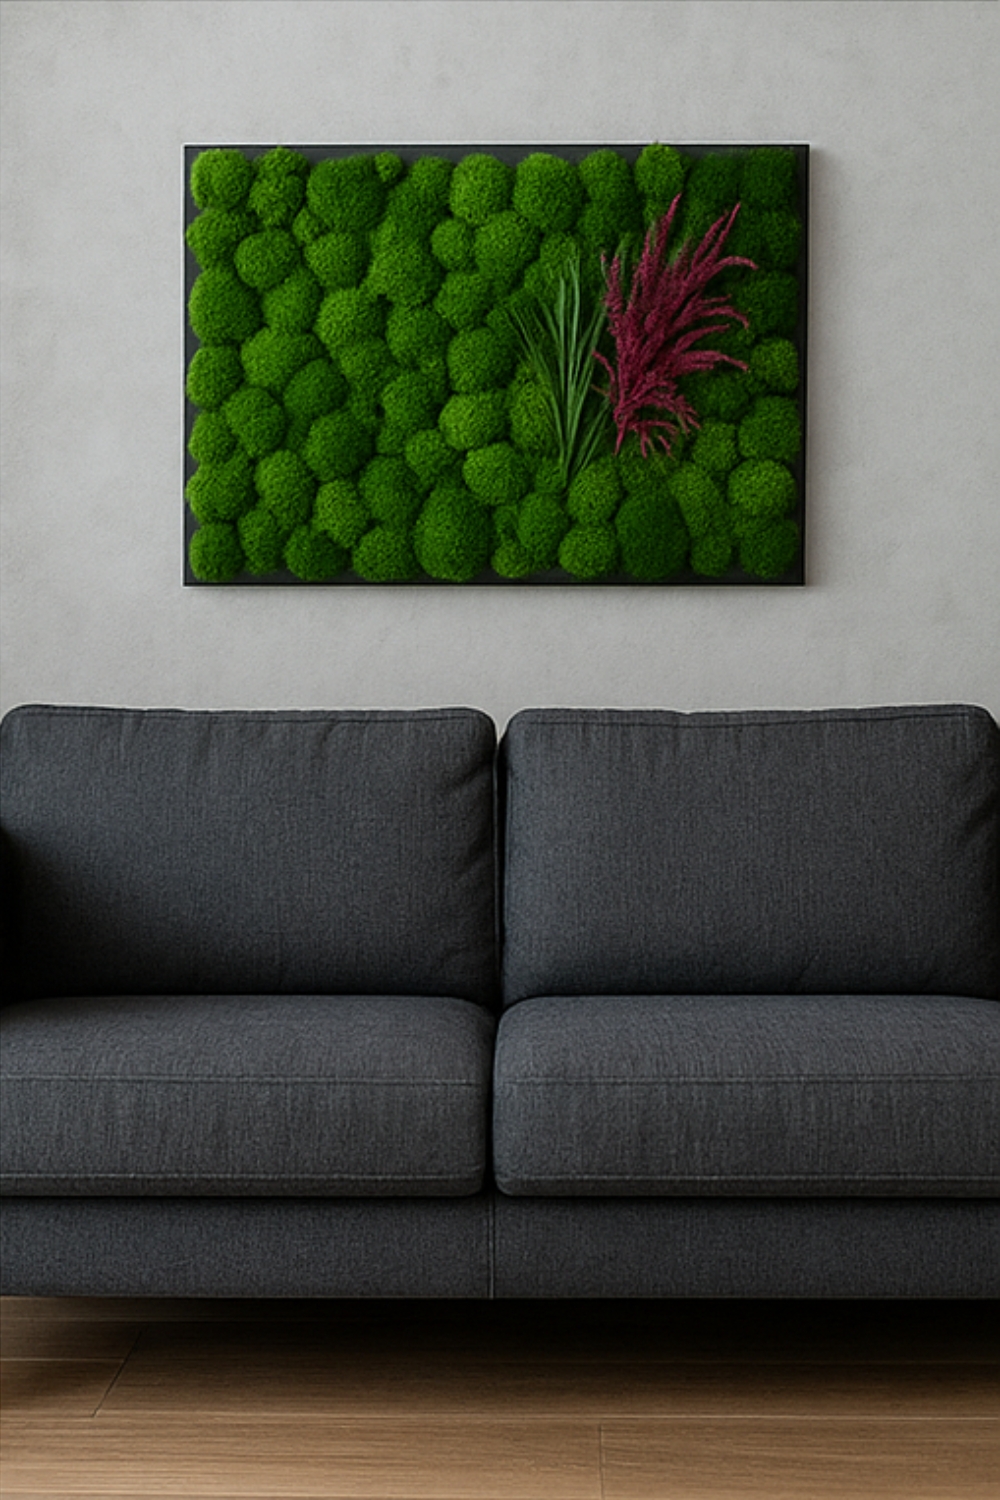
Idea for the Visual Realisation of the Moss Picture
One option for the visual design of your moss picture is to create two to three islands of ball moss and surround them with flat moss types like rock and forest moss, then fill gaps with moss ferns, and finally, use ornamental grasses and amaranth to form a kind of path through the moss.
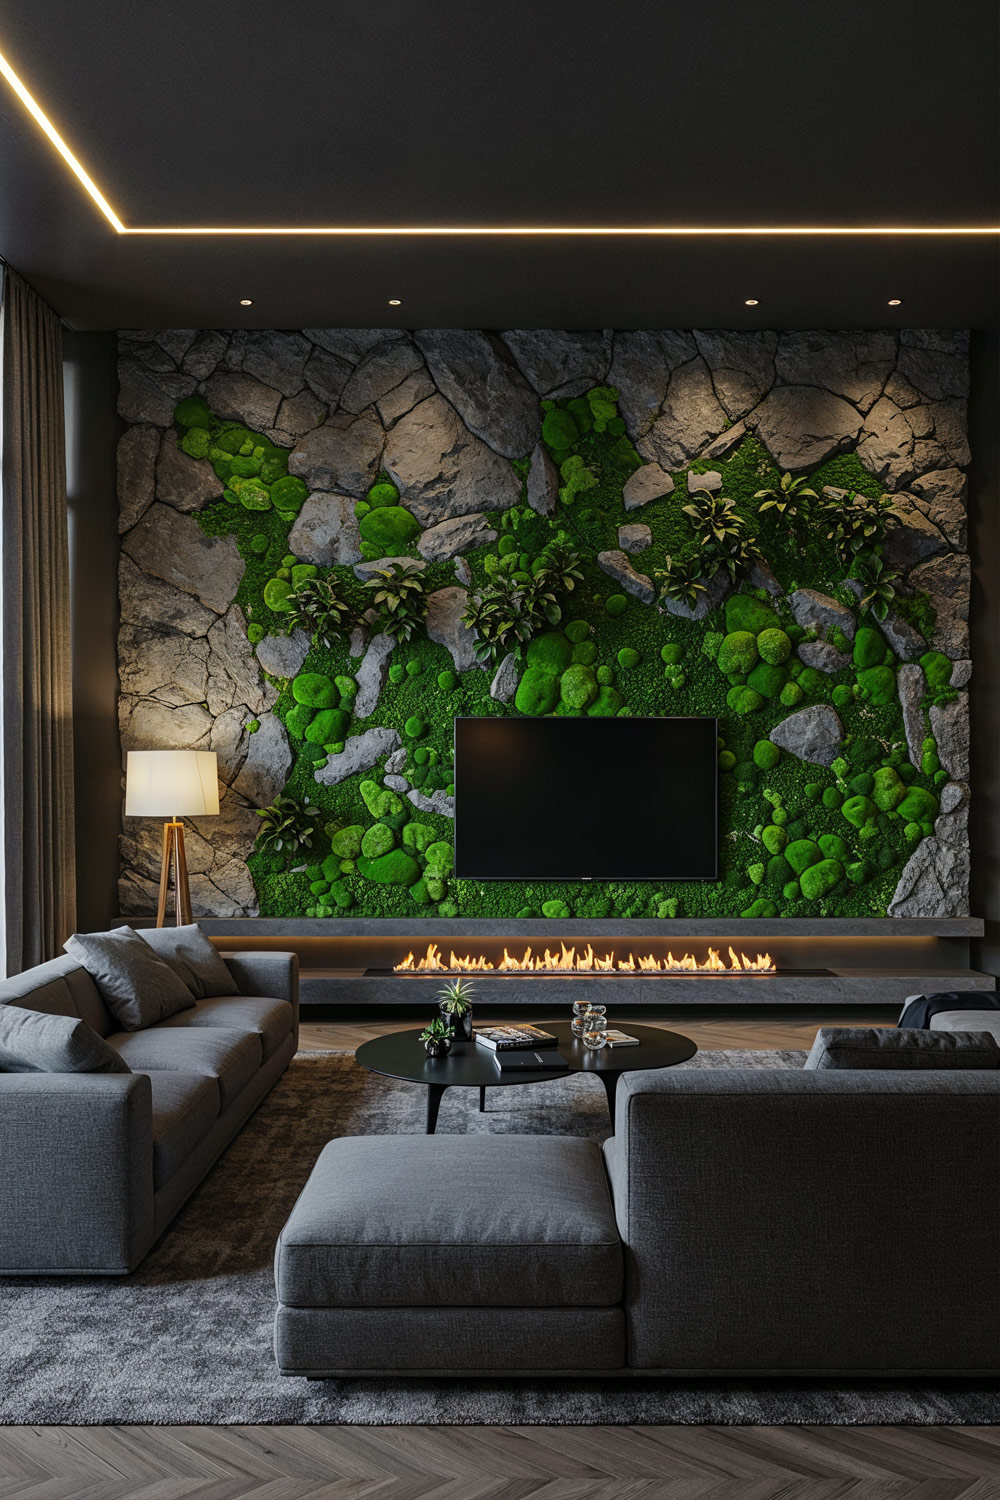
Tip: The moss picture looks particularly spectacular when it covers an entire wall surface.
Material and Tool List
- Gloves
- Scissors
- Flat panel in desired dimensions, e.g., made of plywood, MDF, OSB, cork, or Styrodur
- Moss
- Ornamental plants (optional)
- Moss adhesive (alternatively wood glue or wallpaper paste)
- Notched trowel
- Glue gun
- Spirit level, tape measure, and pencil
- Drill, hammer, screws, and rawlplugs

Mira Celini
Interior Designer at LivareaAs an interior designer at Livarea – since 2012 one of Germany's leading online shops for designer furniture – I help customers create their dream homes. My tips come straight from practice: honest, inspiring, and always with an eye for the extraordinary.
→ View all Trendblog articles